

 中文 (中国)
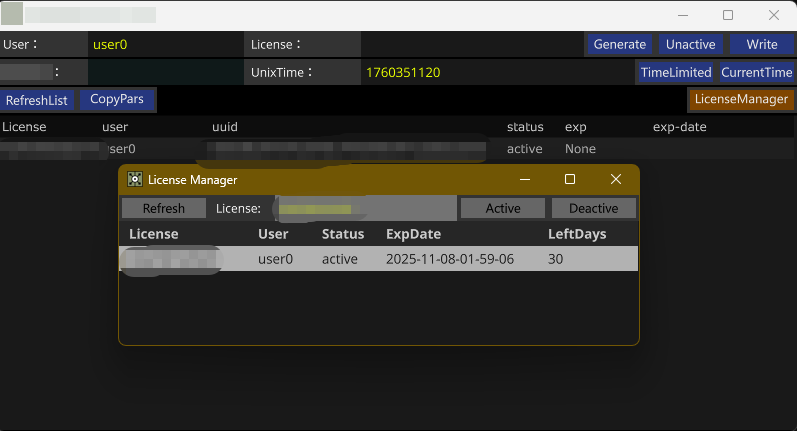
This online license management system is specifically developed for TD professional users as a user license online management system. The software consists of an administrative end and a user end. Administrators can generate license through the administrative end to distribute to customers for activation. They can also enable or revoke authorizations, restrict usage dates, or set extensions. Customers can activate the software encrypted by the administrator using the received license and can transfer the authorization to other computers at any time.
Highlights Introduction:
1. Relying on the robust platform of CDN service providers to ensure the stability of online services, each license management system has its own independent online service and database.
2. The license management interface is intuitive and easy to operate.
3. Only need to provide the license to the customer once and write the corresponding license into the server from the management end. Then users can activate and transfer the license on their own.
4. The logic on the user end is simple and intuitive. It only requires judging based on the status changes of the Active Status parameter.
Details Explanation
First, let’s talk about the interface functions of the license management end.
1. User Field: You can enter the information of the user to be bound here.
2. License Field: You can click the “Generate” button to create an license that is not in the list below. You can also toggle the “Activate” button to change the activation status of the license. The “Write” button behind it is used to write the corresponding information of the license into the online server, which also includes the time information below.
3. ExpTime Field: If you want to enable the time-limited feature, you can enter the expiry time of this license here. The time is based on the standard time in the GMT time zone. You can first click the “Current Time” button on the far right to obtain the current standard time, and then modify it to the desired expiry time. The time format here is year-month-day-hour-minute-second. When you change the time here, the Unix time behind it will be automatically calculated.
If you do not want to enable the time-limited feature, there is no need to set this option.

When the software starts, it will automatically refresh the license list so that you can check the status of the currently used licenses.
In this list, you can click the title bar fields of the list to sort accordingly. You can also select the corresponding license entry with the mouse, and then click the “Copy Pars” button to copy the corresponding parameters to the corresponding fields above, in order to perform the corresponding activation operations or set the expiry time. After making changes, write them back to the online server. When you perform a network operation, such as a write operation, the background will produce a breathing effect. If the server responds successfully, it will return to the normal state. If there is a network issue and the write operation fails, it will turn red as a reminder.
In this list, you can also directly select a specific license entry and press the Del key to remove it from the server.
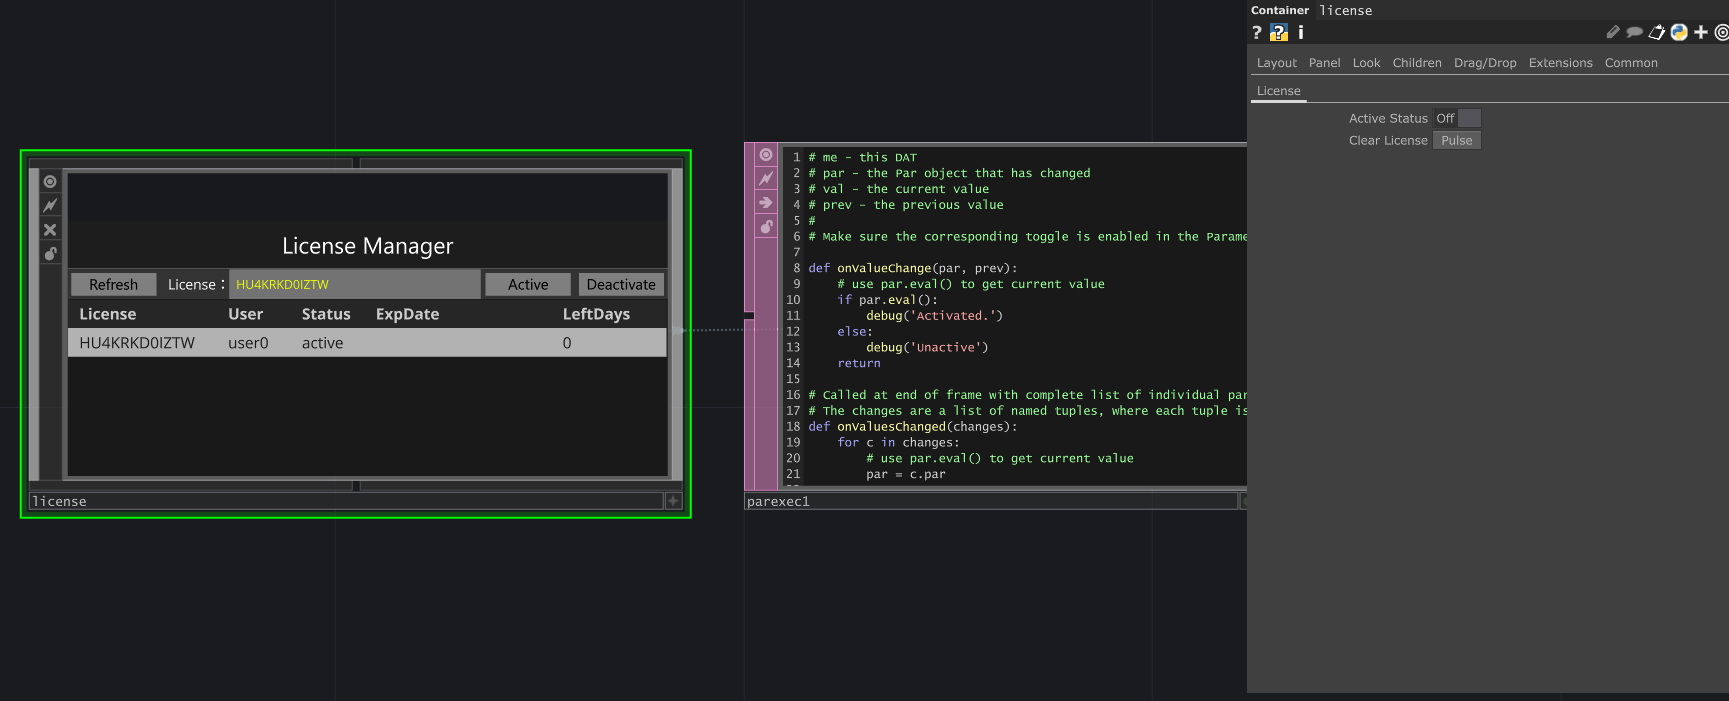
Then there is the user end interface.
Similarly, every time the software is launched, it will automatically refresh the activation status of the corresponding license in the license field. The license entered here by the user will automatically save an license file named local_license.tbl in this project folder.
When you need to use this license in your project, you can place this component under the project1 path, click the “Clear License” in the component parameters to clear the license inside, and then modify the code in the parexec1DAT component of the sample file to proceed with further development..
Once the software development is completed, every time the user launches the software, it will automatically check the status of the currently used license and trigger the corresponding activation status. When the license is empty, you can set it to open the license management window to allow the user to enter the license you provided. Of course, you need to first set the license status to “unactivated” in the management end and write it into the server. After the user enters this license on the user end to activate it, the corresponding hardware will be automatically bound to this license. At this point, the user will not be able to activate it on another machine using the same license. If the user needs to switch to a different computer for use, they will need to first deactivate on the previously activated computer before they can reactivate on the new computer.
If the user is unable to deactivate on the previous computer, you can also find the corresponding license in the management end list, click the “Copy Pars” button to copy the parameters to the corresponding fields, and then set it to “unactivated,” so that the user can re-activate and bind on the new machine.
Final
Finally, it needs to be mentioned that since this system uses external libraries, it is essential to ensure that the Lib directory exists in the project folder. When distributing the project, make sure to include this Lib folder as well. The local_license files for the management end and the user end are different, so it is important to ensure that they are saved in separate folders for the management end and the user.